Setup a new Display
This guide will explain how you can setup a new Display in the Webfrontend. The setup of the hardware itself is described here (TBD)
Step-By-Step Guide
Important
It is assumed that the user is successfully logged in and has the necessary permissions!
On Login the user lands on the Rooms page.
Step 1
Navigate to the Displays page by clicking on the according Icon. If you use this App for the first time you can open the sidebar by clicking the Menu Icon on top of the sidebar. This will show you buttons with text which makes navigating easier for new users. Then just click on “DISPLAYS”. This will bring you to the desired page.
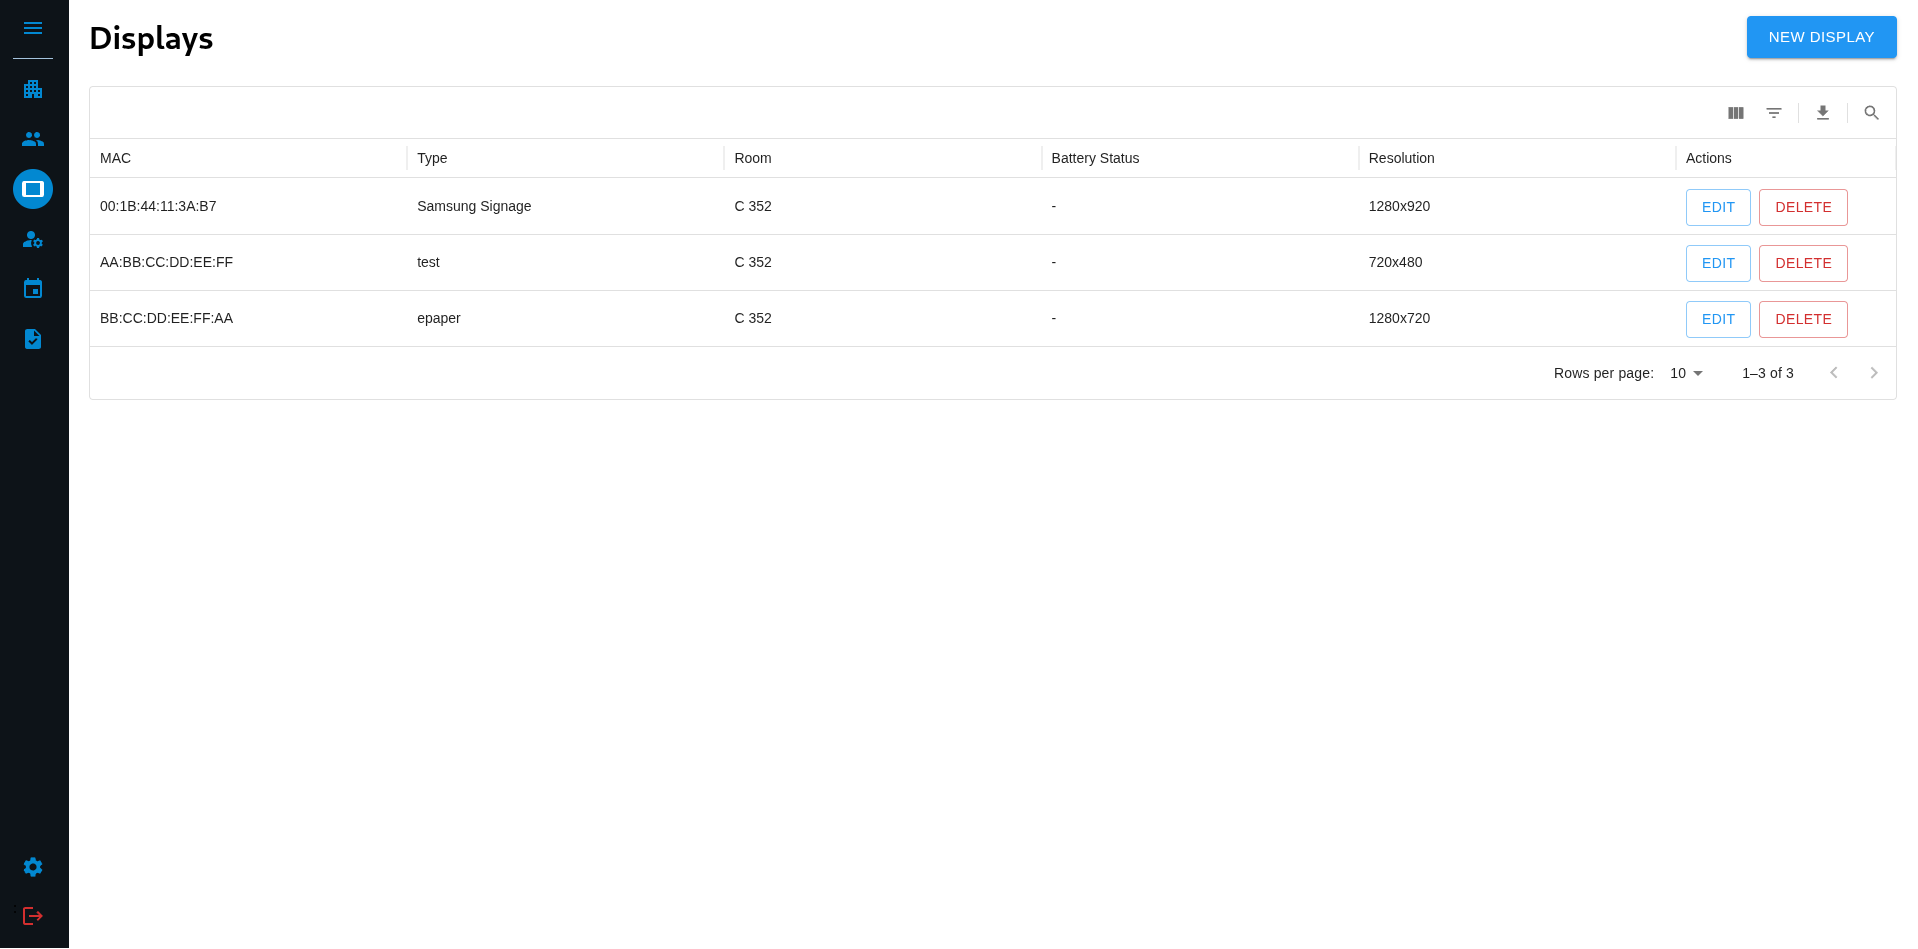
Step 2
Click on the “CREATE NEW DISPLAY” button in the top right corner. This will bring you to the Create new Display page.

Step 3
Here you can enter all the details about the display. The fields that are marked with an asterisk (*) are required.
Step 4
Click on the “REGISTER DISPLAY” button in the lower right corner. This will send the data to the backend and open a dialog that shows you the created UUID and API-Key. Since you need to enter them in the Display Frontend they are also shown as a QR-Code that you can simply scan.
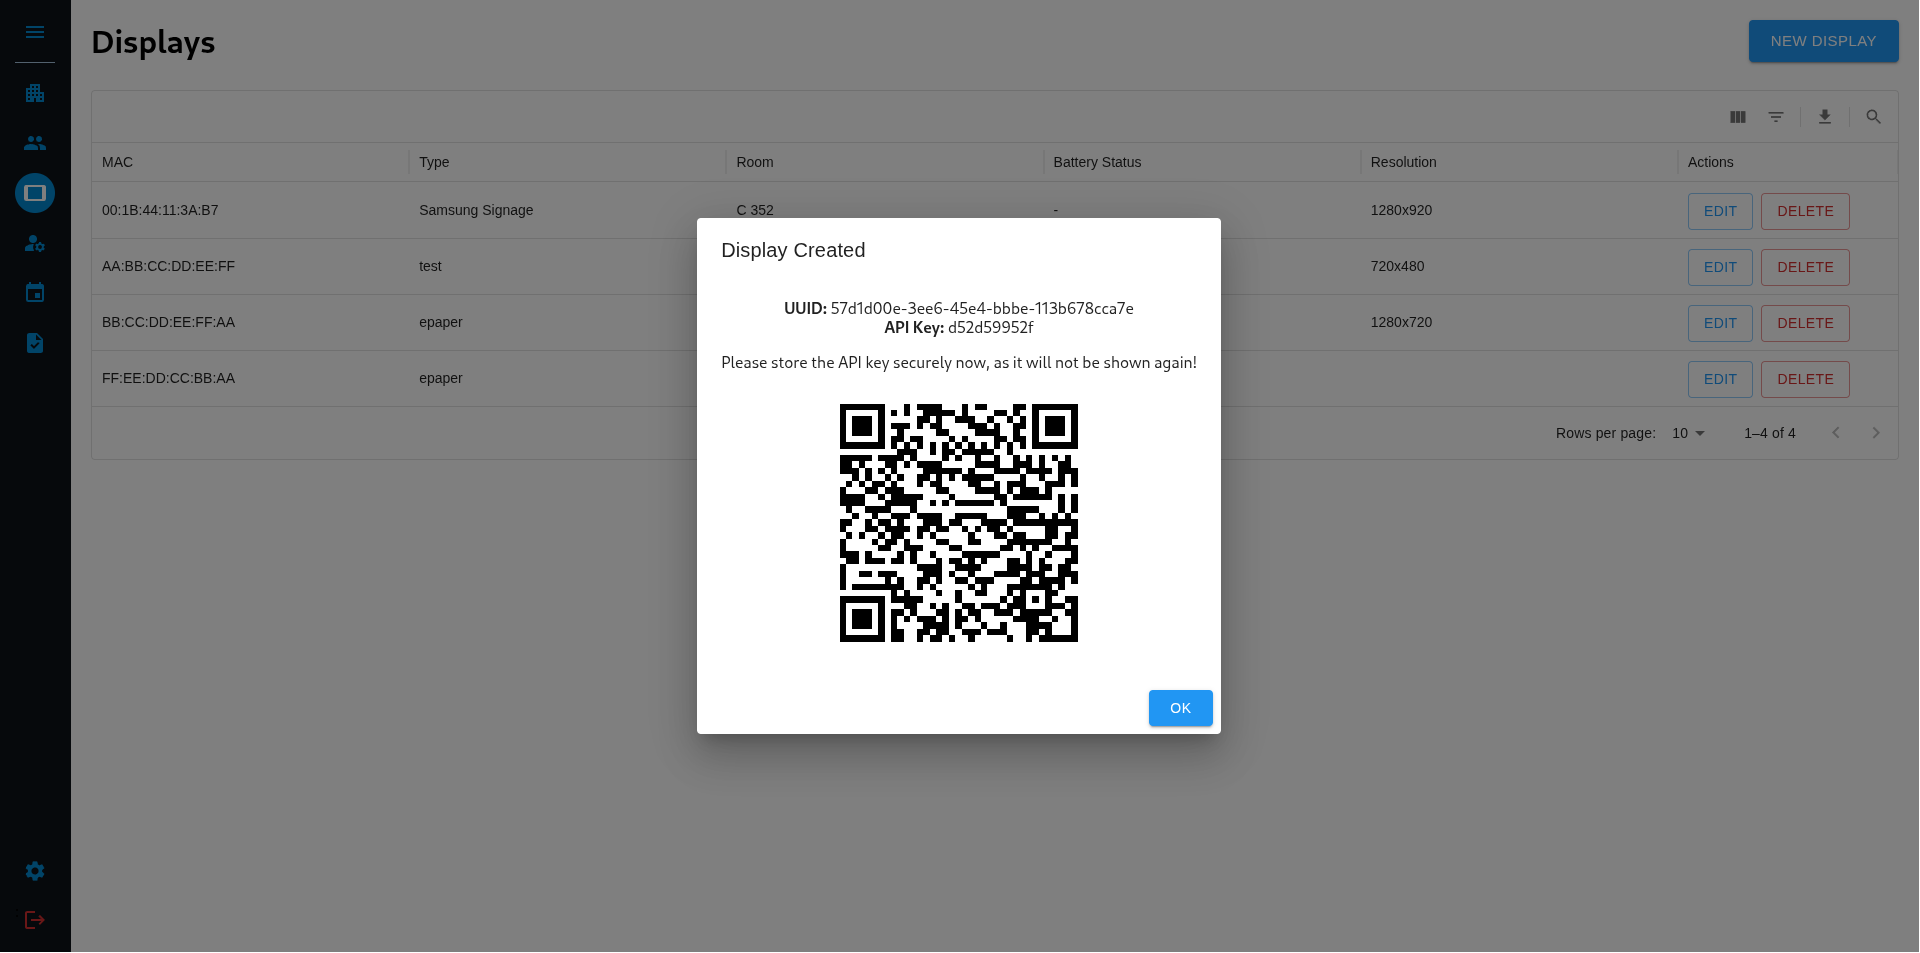
Step 5
After you noted the UUID and API-Key (you will not be abled to get them back later) you can click on “OK” in the lower right corner of the dialog to finish the process.